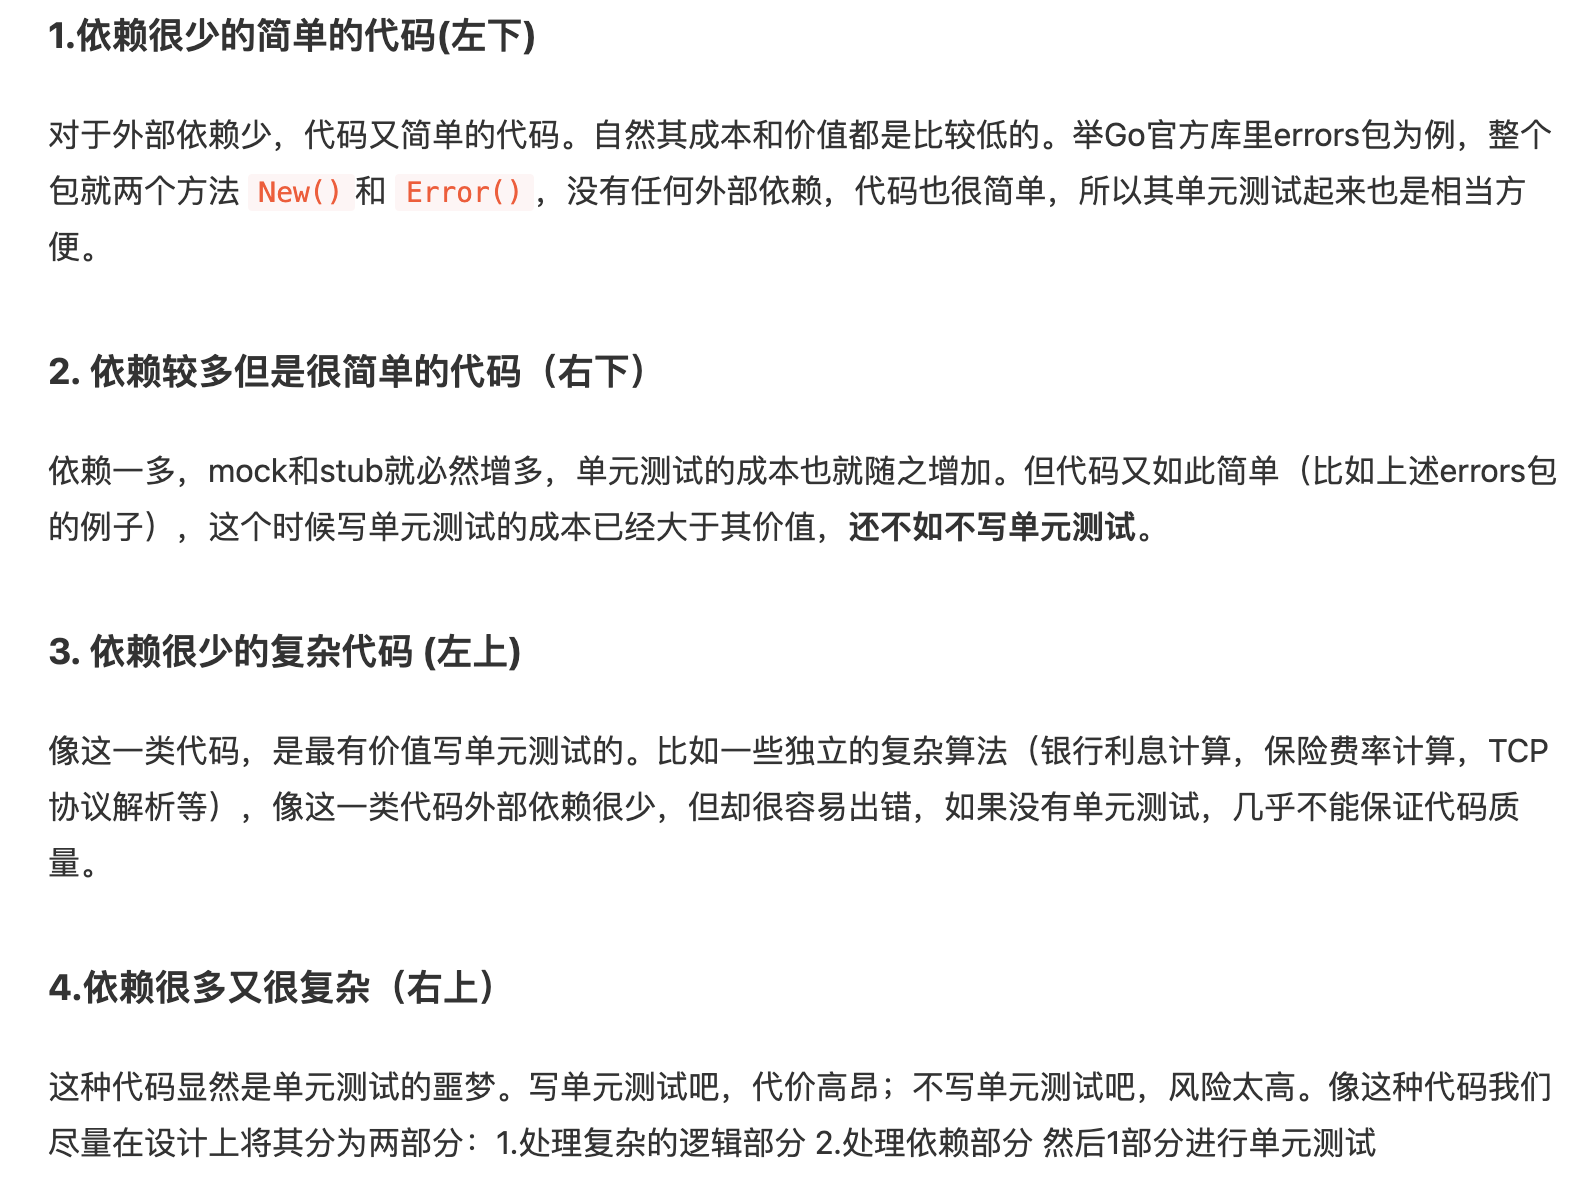
单测的成本与收益
测试单个文件,一定要带上被测试的原文件,如果原文件有其他引用,也需一并带上。
https://www.cnblogs.com/Detector/p/10010292.html
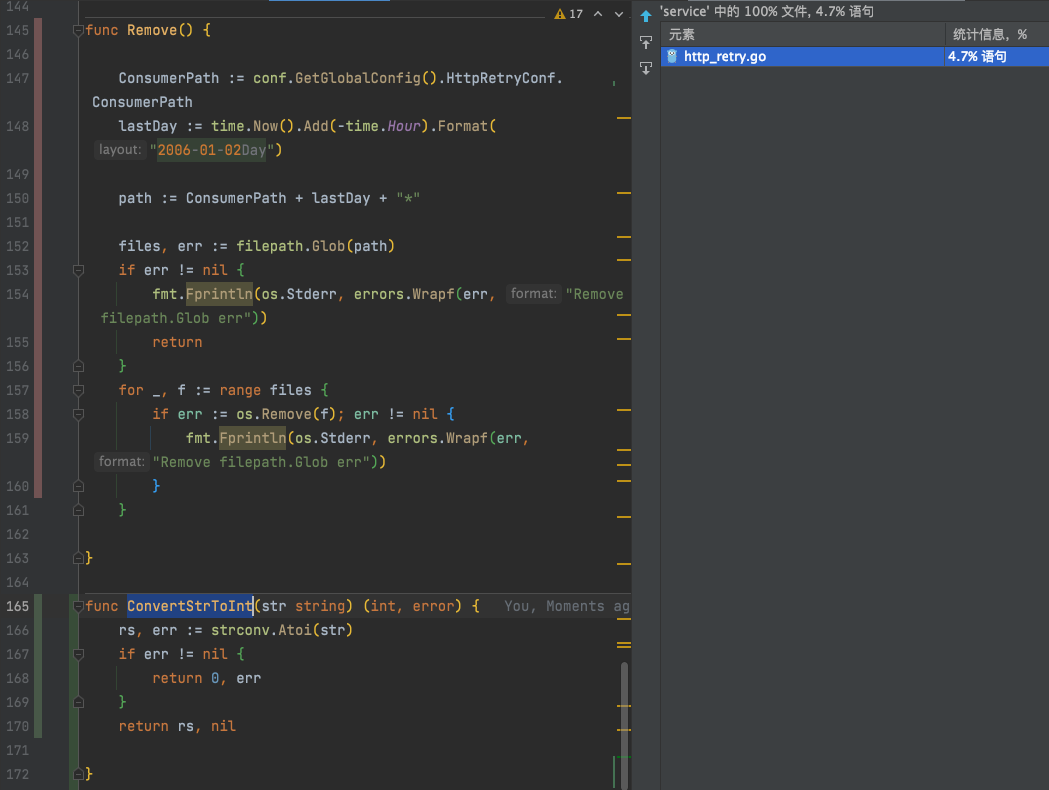
1 | func ConvertStrToInt(str string) (int, error) { |
并对此函数写一个单测:
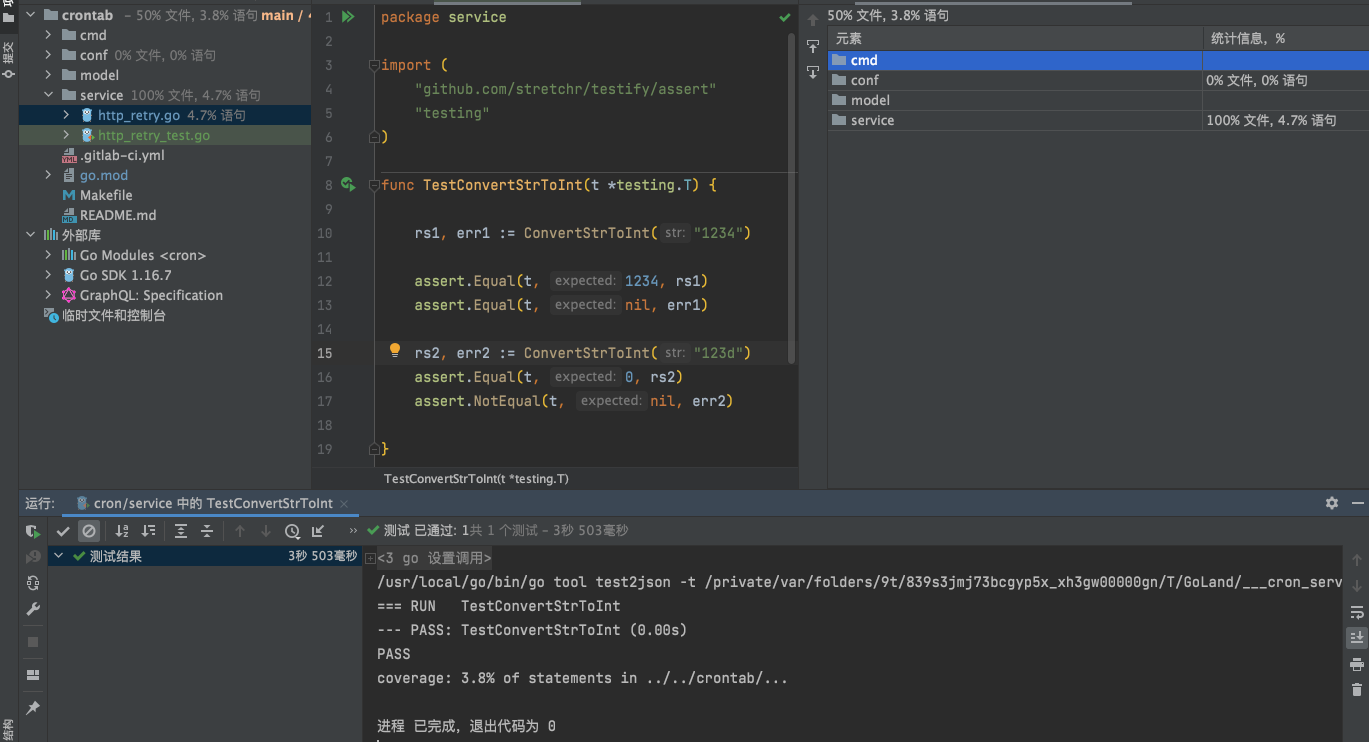
1 | package service |
运行cron/service中的Test..,得到:

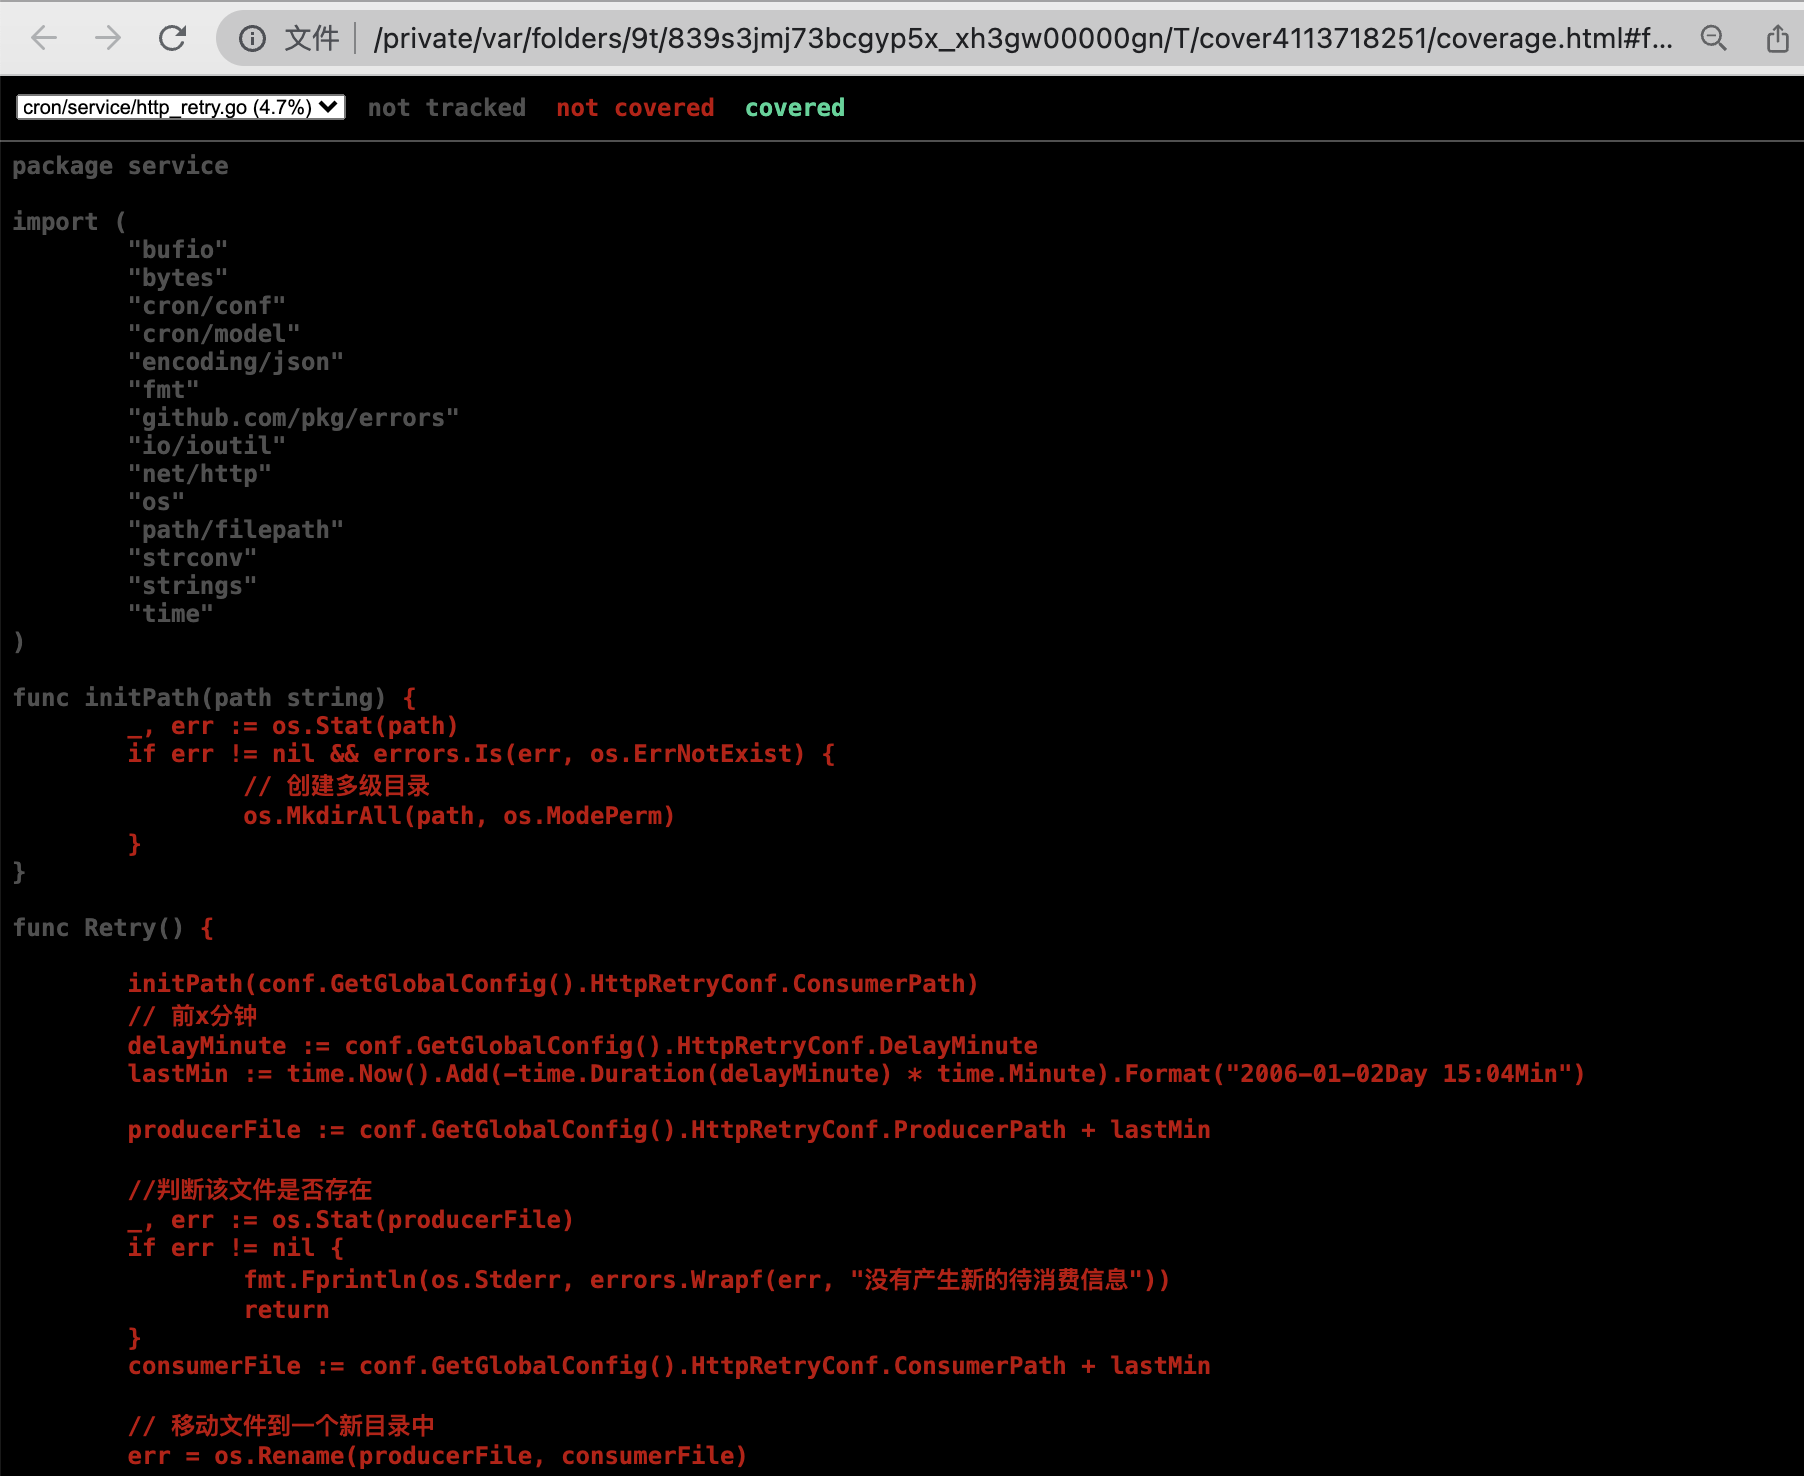
使用覆盖率运行cron/service中的Test..,得到:
可以看到项目整体的测试覆盖率,以及具体某个目录和文件的覆盖率
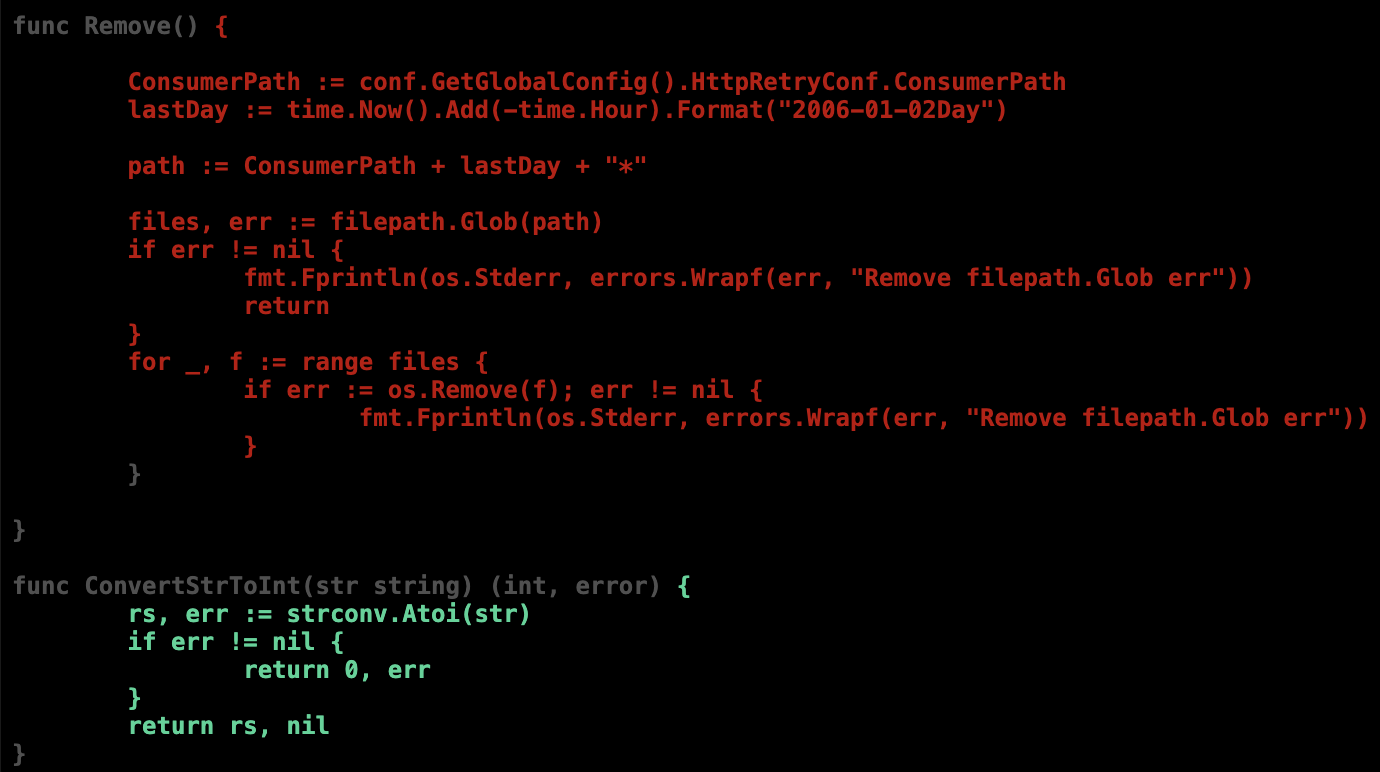
且在对应文件里,可以看到不同颜色标注的哪些被ut覆盖(绿色),哪些没有被覆盖(红色)
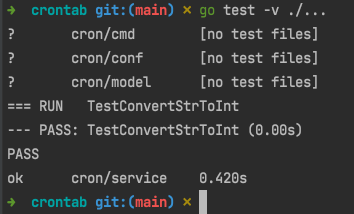
也可以用命令行 go test ./...执行:

用命令行 go test -v ./...可以看到详细信息:
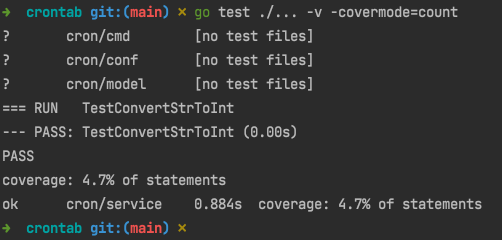
用go test ./... -v -covermode=count 展示项目所有文件的覆盖率:
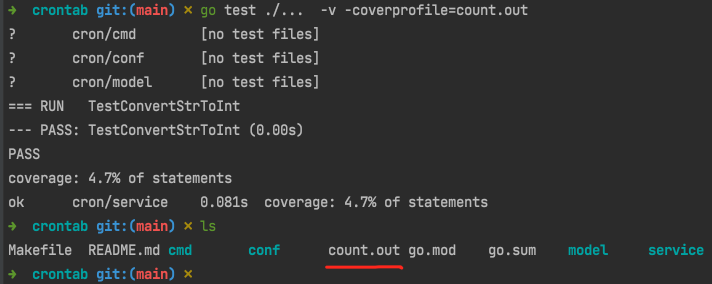
用go test ./... -v -coverprofile=count.out展示测试覆盖率,并生成覆盖统计文件到 count.out
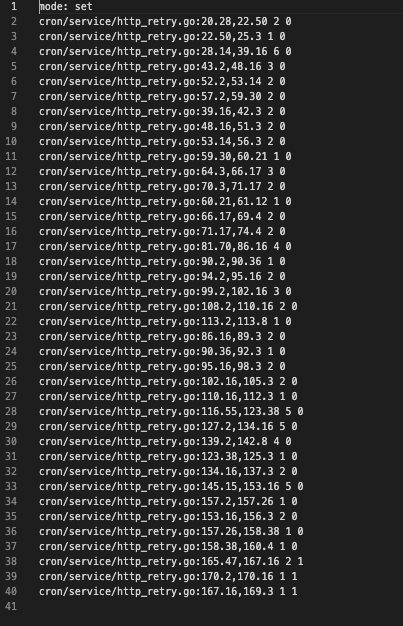
该文件中详细展示了每个文件测试时某一行,执行的次数及其他信息:
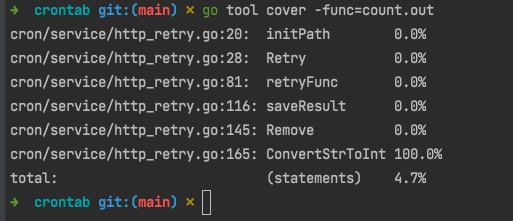
可以有go tool来分析 count.out 文件并生成想要的结果:
- func 生成每个函数的覆盖率
go tool cover -func=count.out
展示每一个函数单元测试的覆盖率,若100% 则测试完整,若0.0% 则没有测试
- html 生成 html 文件,以图形方式展示每个函数,每一行代码的覆盖率
go tool cover -html=count.out
会打开默认浏览器,图形化展示测试覆盖率
可切换当前库下的每个文件,看每一行代码是否测试执行。没有执行的显示为红色, 灰色是不需要测试的, 亮绿色是测试通过的
https://youwu.today/skill/backend/how-to-test-your-go-code/
https://deepzz.com/post/the-command-flag-of-go-test.html
https://books.studygolang.com/The-Golang-Standard-Library-by-Example/chapter09/09.1.html
http://c.biancheng.net/view/124.html
https://brantou.github.io/2017/05/24/go-cover-story/
http://t.zoukankan.com/-wenli-p-14256142.html
https://blog.csdn.net/weixin_31328555/article/details/112099739
https://www.codercto.com/a/44507.html
https://www.cnblogs.com/-wenli/p/14256142.html
https://www.jianshu.com/p/ad46bbbf877c
https://www.cnblogs.com/JenningsMao/p/9240965.html
https://studygolang.com/articles/28166
https://books.studygolang.com/The-Golang-Standard-Library-by-Example/chapter09/09.1.html
testing 的测试用例形式
测试用例有四种形式:
- TestXxxx(t *testing.T) // 基本测试用例
- BenchmarkXxxx(b *testing.B) // 压力测试的测试用例
- Example_Xxx() // 测试控制台输出的例子
- TestMain(m *testing.M) // 测试 Main 函数
给个 Example 的例子 :(Example 需要在最后用注释的方式确认控制台输出和预期是不是一致的)
1 | func Example_GetScore() { |
TestMain:
Golang的TestMain是什么,怎么用?
在Go语言中,TestMain是一个特殊的测试函数,可以用来在测试之前或之后执行一些额外的操作。TestMain函数必须定义在_test.go文件中,并且必须符合以下格式:
1 | func TestMain(m *testing.M) { |
TestMain函数的参数m是一个testing.M类型的值,它可以用来运行测试用例。
TestMain函数的作用是在运行测试之前或之后执行一些额外的操作。例如,可以在TestMain函数中进行测试数据的准备和清理工作,或者在测试之前或之后启动或关闭一些资源等。
需要注意的是,如果TestMain函数中调用了os.Exit函数,那么它会终止整个测试程序,不会执行其他的测试用例。因此,在使用TestMain函数时,需要谨慎使用os.Exit函数。
下面是一个简单的示例,演示如何在TestMain函数中执行测试之前和之后的操作:
1 | package main_test |
在这个示例中,TestMain函数中分别执行了测试之前和之后的初始化和清理操作,并在测试完成后退出程序。而TestAdd和TestSub则是普通的测试用例,它们会被TestMain函数调用并运行。
原文链接: https://dashen.tech/2010/03/28/Golang单元测试/
版权声明: 转载请注明出处.