This command consists of multiple subcommands to interact with chart repositories.
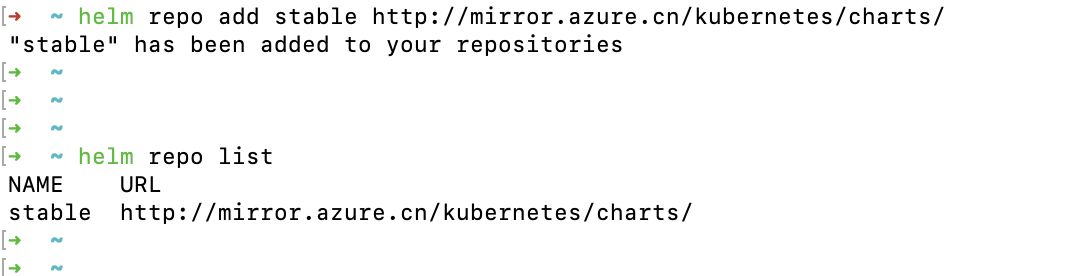
It can be used to add, remove, list, and index chart repositories.
Usage: helm repo [command]
Available Commands: add add a chart repository index generate an index file given a directory containing packaged charts list list chart repositories remove remove one or more chart repositories update update information of available charts locally from chart repositories
Flags: -h, --helphelpfor repo
Global Flags: --burst-limit int client-side default throttling limit (default 100) --debug enable verbose output --kube-apiserver string the address and the port for the Kubernetes API server --kube-as-group stringArray group to impersonate for the operation, this flag can be repeated to specify multiple groups. --kube-as-user string username to impersonate for the operation --kube-ca-file string the certificate authority file for the Kubernetes API server connection --kube-context string name of the kubeconfig context to use --kube-insecure-skip-tls-verify iftrue, the Kubernetes API server's certificate will not be checked for validity. This will make your HTTPS connections insecure --kube-tls-server-name string server name to use for Kubernetes API server certificate validation. If it is not provided, the hostname used to contact the server is used --kube-token string bearer token used for authentication --kubeconfig string path to the kubeconfig file -n, --namespace string namespace scope for this request --registry-config string path to the registry config file (default "/root/.config/helm/registry/config.json") --repository-cache string path to the file containing cached repository indexes (default "/root/.cache/helm/repository") --repository-config string path to the file containing repository names and URLs (default "/root/.config/helm/repositories.yaml") Use "helm repo [command] --help" for more information about a command.
This command consists of multiple subcommands to display information about a chart
Usage: helm show [command]
Aliases: show, inspect
Available Commands: all show all information of the chart chart show the chart's definition crds show the chart's CRDs readme show the chart's README values show the chart's values
Flags: -h, --helphelpfor show
Global Flags: --burst-limit int client-side default throttling limit (default 100) --debug enable verbose output --kube-apiserver string the address and the port for the Kubernetes API server --kube-as-group stringArray group to impersonate for the operation, this flag can be repeated to specify multiple groups. --kube-as-user string username to impersonate for the operation --kube-ca-file string the certificate authority file for the Kubernetes API server connection --kube-context string name of the kubeconfig context to use --kube-insecure-skip-tls-verify iftrue, the Kubernetes API server's certificate will not be checked for validity. This will make your HTTPS connections insecure --kube-tls-server-name string server name to use for Kubernetes API server certificate validation. If it is not provided, the hostname used to contact the server is used --kube-token string bearer token used for authentication --kubeconfig string path to the kubeconfig file -n, --namespace string namespace scope for this request --registry-config string path to the registry config file (default "/root/.config/helm/registry/config.json") --repository-cache string path to the file containing cached repository indexes (default "/root/.cache/helm/repository") --repository-config string path to the file containing repository names and URLs (default "/root/.config/helm/repositories.yaml") Use "helm show [command] --help" for more information about a command. [root@I-OSCORE-PROD-NODE02 ~]# [root@I-OSCORE-PROD-NODE02 ~]# [root@I-OSCORE-PROD-NODE02 ~]# helm show values stable/mysql ## mysql image version ## ref: https://hub.docker.com/r/library/mysql/tags/ ## image: "mysql" imageTag: "5.7.30" strategy: type: Recreate busybox: image: "busybox" tag: "1.32" testFramework: enabled: true image: "bats/bats" tag: "1.2.1" imagePullPolicy: IfNotPresent securityContext: {} ## Specify password for root user ## ## Default: random 10 character string # mysqlRootPassword: testing ## Create a database user ## # mysqlUser: ## Default: random 10 character string # mysqlPassword: ## Allow unauthenticated access, uncomment to enable ## # mysqlAllowEmptyPassword: true ## Create a database ## # mysqlDatabase: ## Specify an imagePullPolicy (Required) ## It's recommended to change this to 'Always'if the image tag is 'latest' ## ref: http://kubernetes.io/docs/user-guide/images/#updating-images ## imagePullPolicy: IfNotPresent
## Additionnal arguments that are passed to the MySQL container. ## For example use --default-authentication-plugin=mysql_native_password if older clients need to ## connect to a MySQL 8 instance. args: []
## A string to add extra environment variables # extraEnvVars: | # - name: EXTRA_VAR # value: "extra"
# Optionally specify an array of imagePullSecrets. # Secrets must be manually created in the namespace. # ref: https://kubernetes.io/docs/concepts/containers/images/#specifying-imagepullsecrets-on-a-pod # imagePullSecrets: # - name: myRegistryKeySecretName
## Persist data to a persistent volume persistence: enabled: true ## database data Persistent Volume Storage Class ## If defined, storageClassName: <storageClass> ## If set to "-", storageClassName: "", which disables dynamic provisioning ## If undefined (the default) or set to null, no storageClassName spec is ## set, choosing the default provisioner. (gp2 on AWS, standard on ## GKE, AWS & OpenStack) ## # storageClass: "-" accessMode: ReadWriteOnce size: 8Gi annotations: {}
## Use an alternate scheduler, e.g. "stork". ## ref: https://kubernetes.io/docs/tasks/administer-cluster/configure-multiple-schedulers/ ## # schedulerName:
## Configure resource requests and limits ## ref: http://kubernetes.io/docs/user-guide/compute-resources/ ## resources: requests: memory: 256Mi cpu: 100m
# Custom mysql configuration files path configurationFilesPath: /etc/mysql/conf.d/
# Custom mysql configuration files used to override default mysql settings configurationFiles: {} # mysql.cnf: |- # [mysqld] # skip-name-resolve # ssl-ca=/ssl/ca.pem # ssl-cert=/ssl/server-cert.pem # ssl-key=/ssl/server-key.pem
# Custom mysql init SQL files used to initialize the database initializationFiles: {} # first-db.sql: |- # CREATE DATABASE IF NOT EXISTS first DEFAULT CHARACTER SET utf8 DEFAULT COLLATE utf8_general_ci; # second-db.sql: |- # CREATE DATABASE IF NOT EXISTS second DEFAULT CHARACTER SET utf8 DEFAULT COLLATE utf8_general_ci;
# To enaable the mysql X Protocol's port # .. will expose the port 33060 # .. Note the X Plugin needs installation # ref: https://dev.mysql.com/doc/refman/8.0/en/x-plugin-checking-installation.html mysqlx: port: enabled: false
## Configure the service ## ref: http://kubernetes.io/docs/user-guide/services/ service: annotations: {} ## Specify a service type ## ref: https://kubernetes.io/docs/concepts/services-networking/service/#publishing-services---service-types type: ClusterIP port: 3306 # nodePort: 32000 # loadBalancerIP:
## Pods Service Account ## ref: https://kubernetes.io/docs/tasks/configure-pod-container/configure-service-account/ serviceAccount: ## Specifies whether a ServiceAccount should be created ## create: false ## The name of the ServiceAccount to use. ## If not set and create is true, a name is generated using the mariadb.fullname template # name:
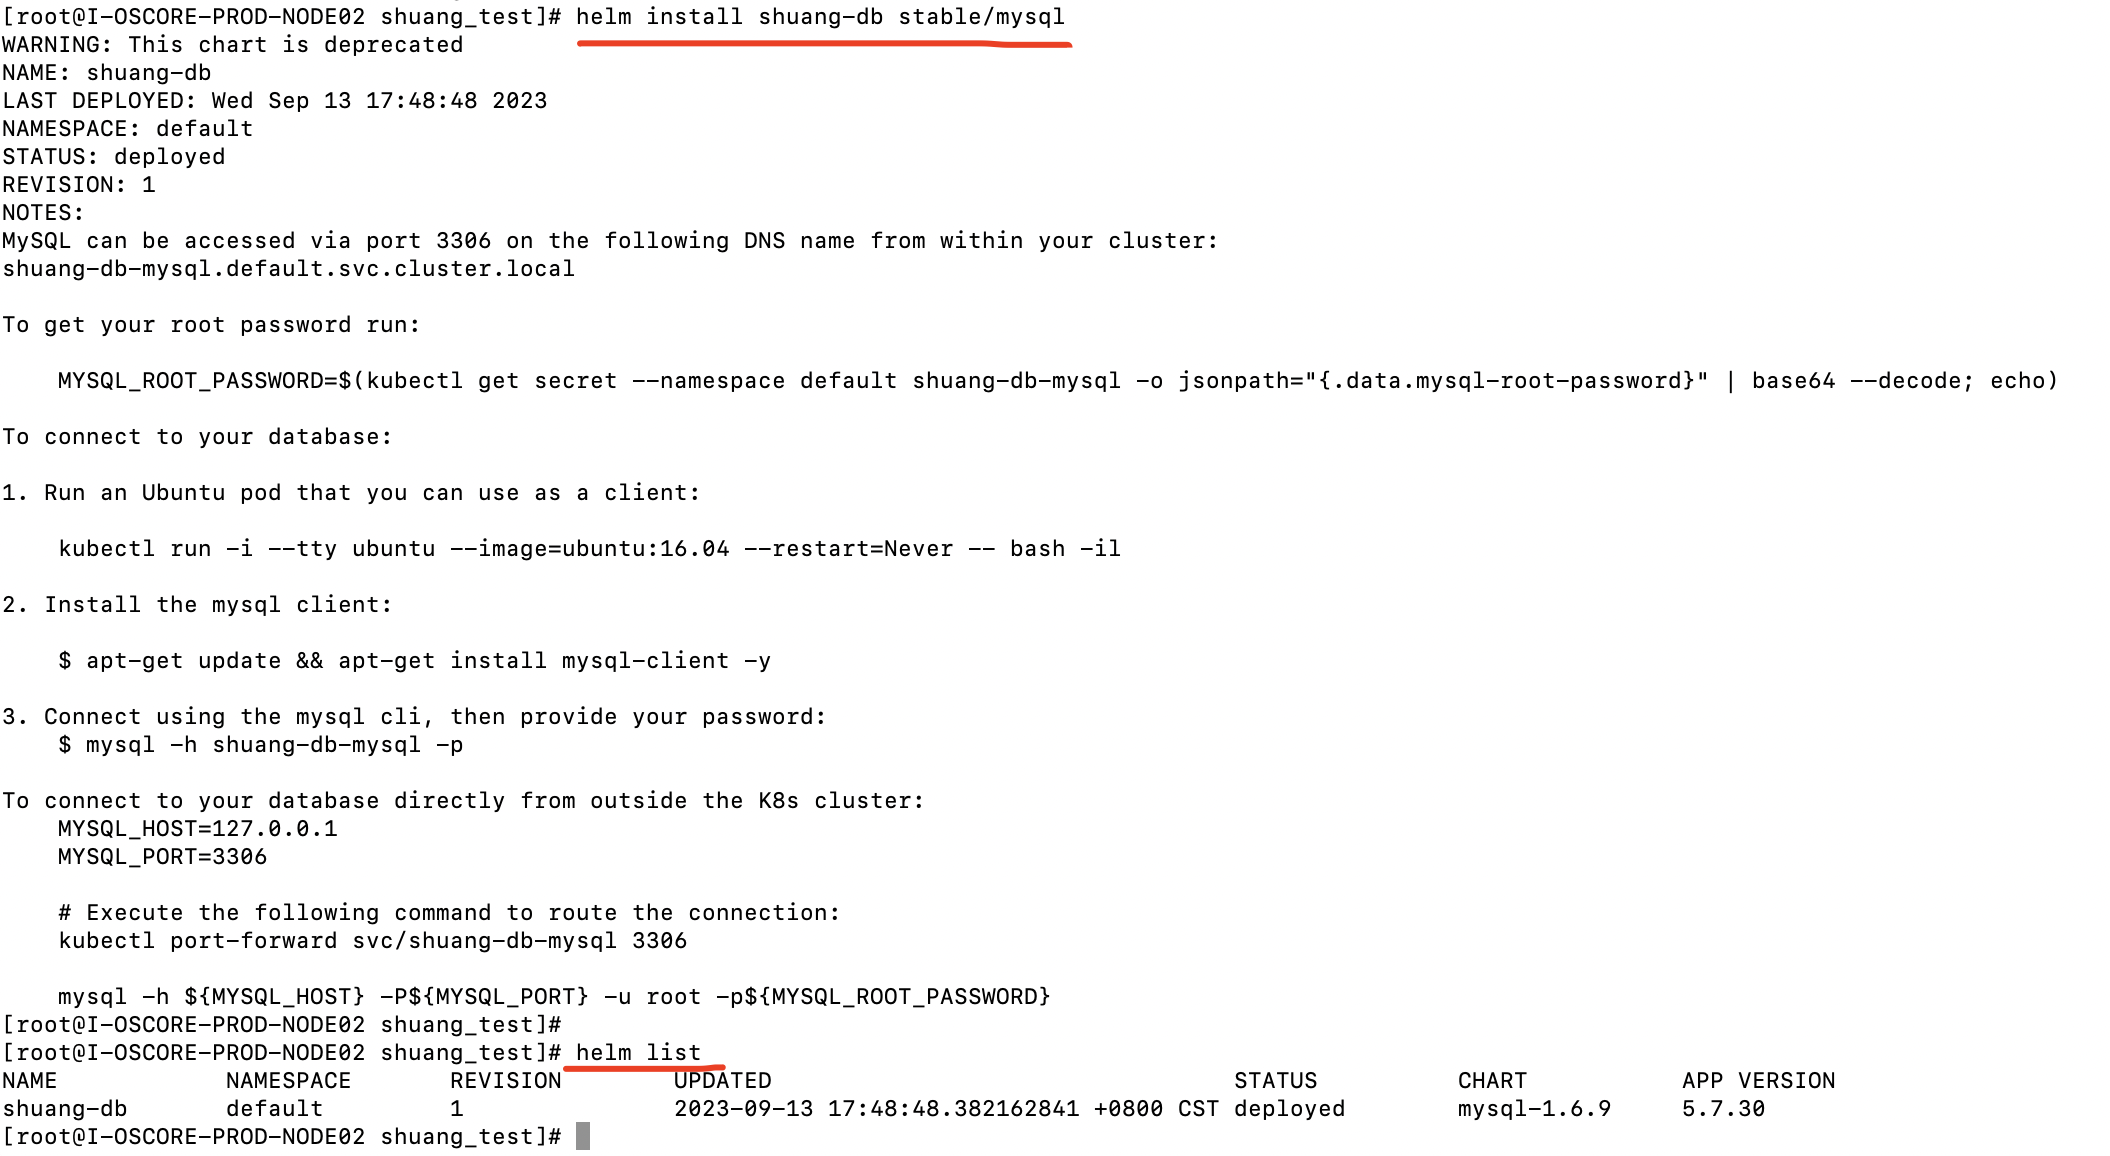
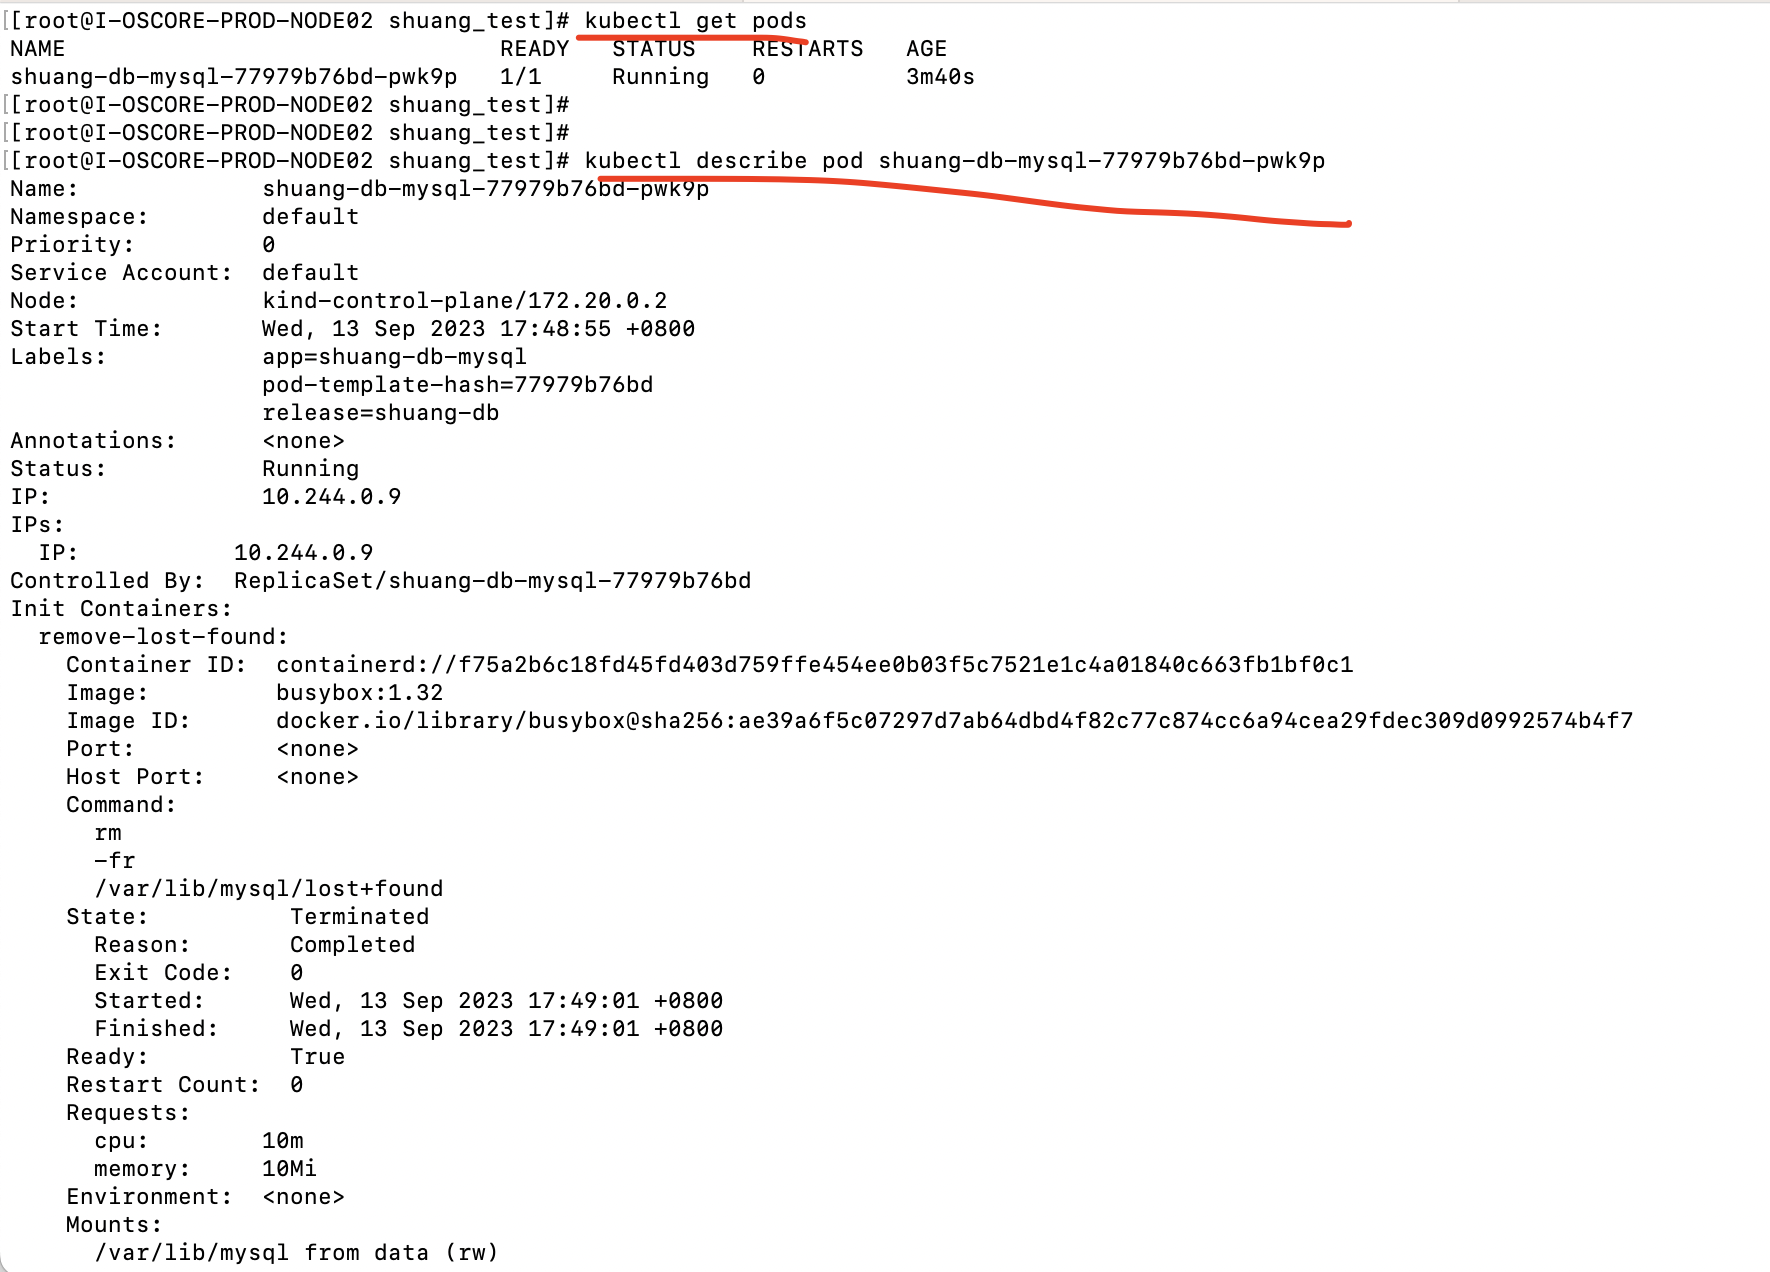
WARNING: This chart is deprecated NAME: shuang-db LAST DEPLOYED: Wed Sep 13 17:48:48 2023 NAMESPACE: default STATUS: deployed REVISION: 1 NOTES: MySQL can be accessed via port 3306 on the following DNS name from within your cluster: shuang-db-mysql.default.svc.cluster.local
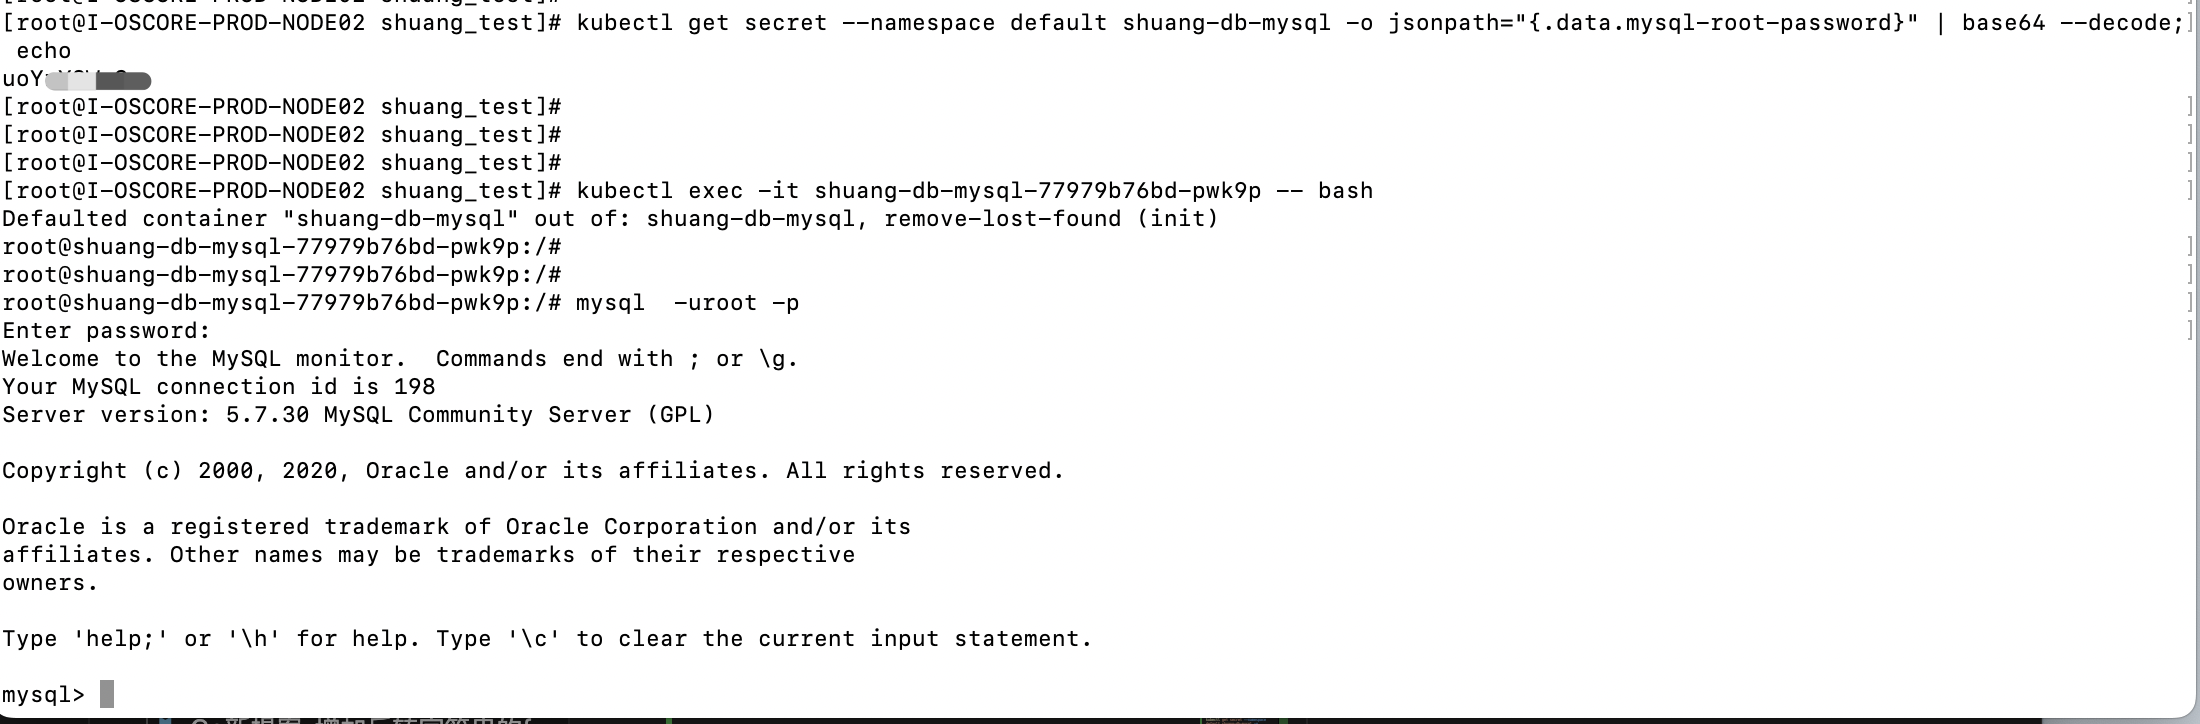
执行 mysql -h ${MYSQL_HOST} -P${MYSQL_PORT} -u root -p${MYSQL_ROOT_PASSWORD}
mysql -uroot -p
即可
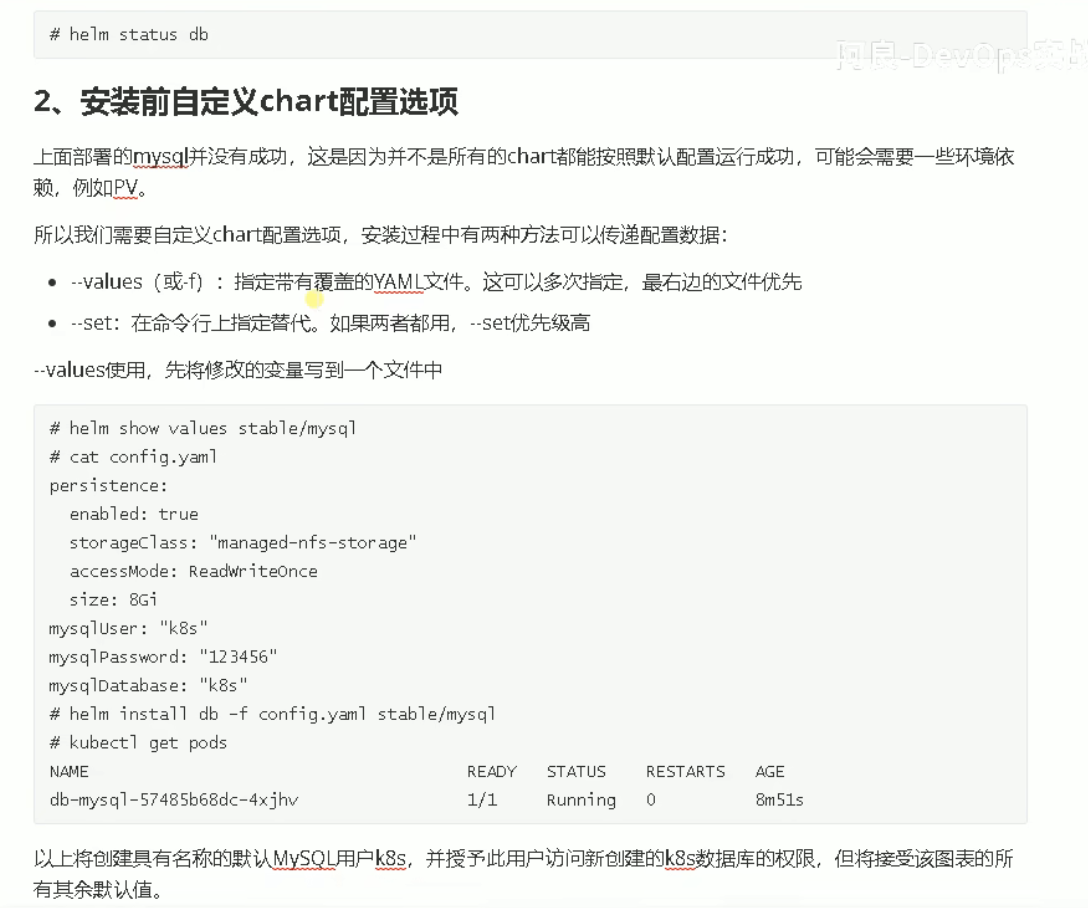
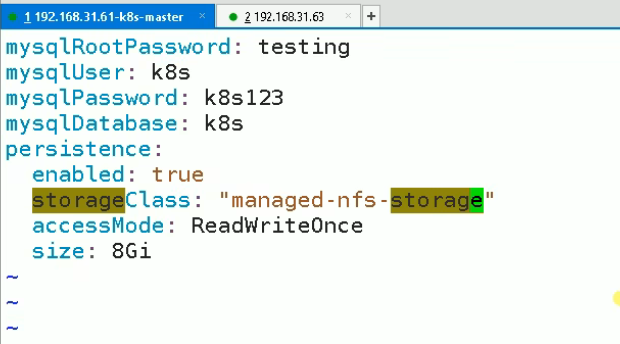
Helm安装前修改Chart默认配置
1
2
3
 kubectl get sc
NAME                 PROVISIONER             RECLAIMPOLICY   VOLUMEBINDINGMODE      ALLOWVOLUMEEXPANSION   AGE
standard (default)   rancher.io/local-path   Delete          WaitForFirstConsumer   false                  153